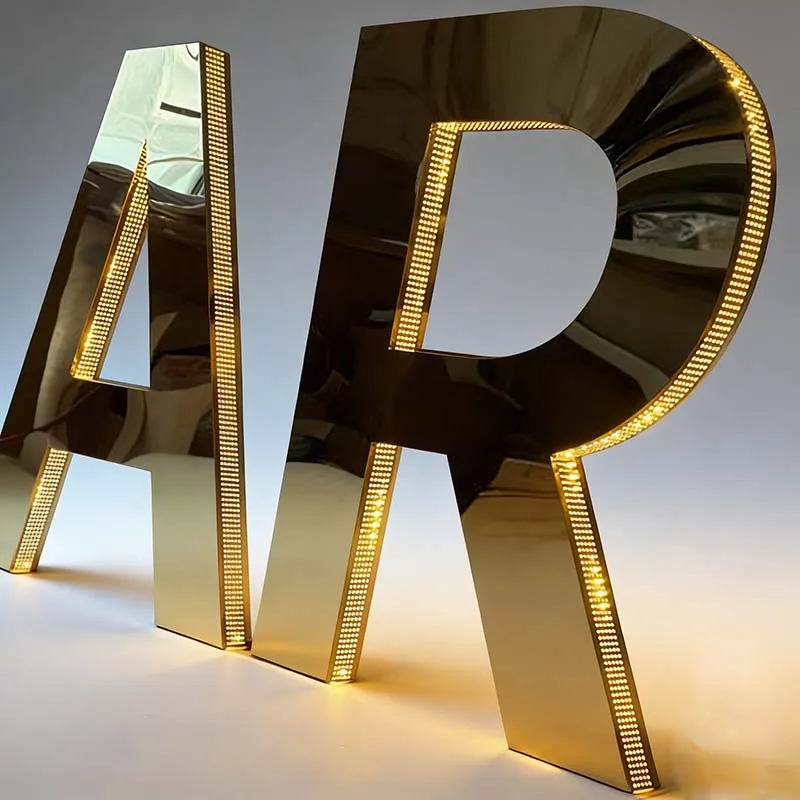
You've seen it. A beautiful channel letter sign, installed six months ago, already has a thin crack where the acrylic face meets the aluminum return. Water seeps in. LEDs start flickering within a year. The client calls, angry. You eat the rework cost.
I've spent 15 years in this industry, and I've watched shops burn thousands of dollars on sealant failures that were 100% preventable. The problem isn't that sealants "don't work." The problem is that most sign professionals treat sealant as an afterthought. They grab whatever tube is cheapest at the hardware store. They assume "silicone is silicone."
Here's the reality: A quality sign built with Mitsubishi acrylic (92% light transmittance, UV-resistant for 5-8 years) and a 304 stainless steel frame (10+ year outdoor life) can be completely destroyed by a $4 tube of the wrong sealant. The sealant joint is the single most vulnerable point in any outdoor sign assembly.
The data backs this up. In our production facility in Lu'an, China — where we run 50+ skilled workers across a 3,000m² shop and export worldwide — we've tested over a dozen sealant formulations against our standard sign materials. The difference between a 2-year failure and a 10-year seal is almost always one thing: matching the sealant's coefficient of thermal expansion to the sign's materials.
Let me break down exactly what works, what doesn't, and why.
Most guides tell you to "use silicone for outdoor signs." That's like saying "use a car for transportation." It's technically true, but useless when you're choosing between a sedan and a dump truck.
The real secret is thermal expansion. Every sign material expands and contracts at a different rate when temperatures change. Aluminum expands roughly 23 x 10⁻⁶ /°C. Acrylic expands about 70 x 10⁻⁶ /°C. Stainless steel is around 17 x 10⁻⁶ /°C. When you bond two materials with different expansion rates, the sealant must flex enough to absorb that movement — without tearing, cracking, or losing adhesion.
Here's what I've learned from 15 years of manufacturing:
This is the most common joint in sign making. The expansion differential between aluminum and acrylic is roughly 3x. You need a high-movement silicone sealant with a movement capability rating of at least ±50%. We use a neutral-cure, low-modulus silicone specifically formulated for glazing applications. It stays flexible down to -40°F and handles UV exposure for 10+ years without yellowing.
Do NOT use standard bathroom caulk or acrylic latex sealants here. They have movement ratings of only ±12.5% to ±25%. Within one freeze-thaw cycle, they'll crack.
Stainless steel (304 or 316 marine grade) has a low expansion rate. When bonding it to glass or another metal with similar expansion, you can use a polyurethane sealant. Polyurethane has excellent adhesion to metals and higher tensile strength than silicone — about 300-400 psi versus 100-200 psi for silicone. But it has poor UV resistance. On a sign that faces direct sunlight, polyurethane will chalk and degrade in 2-3 years. Use it only for interior or shaded exterior joints.
PVC expands even more than acrylic — roughly 80 x 10⁻⁶ /°C. And it's notoriously difficult to bond because of plasticizer migration. The plasticizers in PVC can soften and break down many sealants over time. We've found that a silicone specifically formulated for PVC (often labeled "Silicone II" or "PVC-compatible") works. But the real trick is surface preparation: you must clean PVC with isopropyl alcohol and lightly abrade it with 220-grit sandpaper to create a mechanical bond. Skip this step, and your sealant will fail within 6 months.
90% of sealant success is surface preparation. 10% is the product itself. I don't care if you're using $50-a-tube aerospace-grade silicone — if the surface is dirty, oily, or wet, it will fail.
Here's our 5-step preparation protocol at Aochuang Sign:
One more thing: never apply sealant to a surface that's below 40°F. The sealant won't cure properly. It'll stay tacky for days and lose up to 60% of its ultimate adhesion strength. If you must work in winter, warm the sign components to 60-70°F in a heated shop before application, then move them outside for installation.
I've watched dozens of installers apply sealant like they're icing a cake. That's wrong. Here's what we do:
Cut the tip at a 45-degree angle, and size the opening to about 1/4 inch for most sign joints. This gives you a consistent bead that's roughly 3/16 inch wide. Too small, and you won't get enough sealant into the joint. Too large, and you waste material and create a mess.
After applying the sealant, use a plastic tooling tool (or your finger dipped in soapy water) to press the sealant into the joint. This ensures full contact and removes air bubbles. Tool within 5 minutes of application — before the sealant skins over.
Tool only once or twice. Excessive tooling pulls the sealant out of the joint and creates voids. A single smooth pass is all you need.
Silicone sealants cure by reacting with moisture in the air. At 70°F and 50% humidity, a 1/4-inch bead will skin over in 15-30 minutes and cure fully in 24 hours. In dry climates (under 20% humidity), cure time doubles. In cold weather (40°F), it can take 3-5 days. Plan your installation schedule accordingly. Do not move or stress the sign until the sealant is fully cured.
| Property | Silicone (Neutral Cure) | Polyurethane | Acrylic Latex |
|---|---|---|---|
| Movement capability | ±50% (high-movement types) | ±25% to ±35% | ±12.5% to ±25% |
| UV resistance (outdoor life) | 10+ years without yellowing | 2-3 years (chalking/degradation) | 1-2 years (cracking) |
| Adhesion to metals | Good (with primer for some) | Excellent (no primer often) | Poor (requires primer) |
| Adhesion to acrylic/polycarbonate | Excellent (neutral cure only) | Fair (may craze plastics) | Poor (causes crazing) |
| Temperature range | -40°F to 400°F | -20°F to 180°F | 0°F to 120°F |
| Paintability | No (won't stick) | Yes | Yes |
| Cost per 10 oz tube | $6-15 | $8-18 | $3-8 |
| Best use case | Aluminum + acrylic joints, high UV | Metal-to-metal, interior/shaded | Interior only, temporary signs |
The table tells a clear story: for outdoor signs exposed to direct sunlight, silicone is the only reliable choice. Polyurethane has better adhesion to metals but can't handle UV. Acrylic latex is cheap and paintable, but it's essentially a temporary fix. Don't use it on any sign you expect to last more than 2 years.
We run a 100% QC inspection on every sign before it leaves our factory. That includes a water spray test on every sealed joint. Here's what you should do:
After the sealant has fully cured (24-72 hours depending on conditions), spray the joint with a hose at 40-60 psi from 6 inches away. Use a nozzle that produces a cone spray, not a jet. Direct the spray at the joint from multiple angles. If you see any water inside the sign — even a single droplet — the seal has failed. Reapply.
On a test piece (same materials as the sign), apply a bead of sealant and let it cure. Then try to peel it off with your fingers. If it comes off cleanly, the bond is weak. You should need to tear the sealant to remove it. If it peels, your surface preparation was insufficient.
Leave a test sample outside for 30 days. If the sealant yellows, cracks, or chalking appears, switch to a different product. This is especially important for white or light-colored signs where yellowing is immediately visible.
Even the best sealant won't last forever. But with proper maintenance, you can extend the weatherproofing life of a sign by 3-5x. Here's the schedule we recommend to our clients:
One thing most shops miss: when you replace sealant, you must remove every trace of the old material. Silicone is particularly bad about bonding to itself poorly. New silicone applied over old silicone will delaminate within months. Use a silicone remover solvent and a plastic scraper to get it all off.
This is the #1 question I get from contractors: "Can I apply sealant in winter?" The answer is yes, but with strict conditions.
Minimum curing temperature for most silicone sealants is 40°F. Below that, the cure reaction slows dramatically. At 20°F, it may take 7-10 days to cure fully. And if the sealant freezes before it cures, it loses structural integrity permanently.
Here's our winter protocol:
And never, ever apply sealant to a frosted or icy surface. The ice will melt and create a water layer between the sealant and the sign. The sealant will cure on top of that water layer and peel right off when it dries.
Use a neutral-cure, low-modulus silicone with a movement rating of ±50% or higher. We recommend Dow Corning 795 or GE SilPruf NB SCS2700. Avoid acetoxy-cure silicones (the kind that smell like vinegar) — they can craze acrylic. Neutral-cure silicones are acetic acid-free and safe for plastics.
Use a silicone specifically formulated for UV exposure. Look for "UV-resistant" or "glazing-grade" on the label. Avoid polyurethane and acrylic latex for outdoor use — they'll yellow and crack within 2-3 years. Also, use a sealant with a white or clear formulation that contains UV stabilizers. Clear silicones generally yellow less than white ones because they have fewer pigments that can degrade.
Technically yes, but it's not recommended. Interior signs don't need UV resistance or extreme temperature tolerance. You can use a cheaper polyurethane or even acrylic latex for interior joints. But for exterior signs, stick with silicone. The cost difference is small ($6-15 per tube vs. $3-8), but the lifespan difference is enormous (10+ years vs. 1-3 years).
40°F is the absolute minimum for most silicone sealants. Below that, the cure rate slows dramatically and adhesion strength drops. If you must apply in colder conditions, use a low-temperature silicone (labeled for 0°F or -20°F application) and pre-warm the joint area with a heat gun. Never apply to frozen surfaces.
Use a plastic scraper (never metal) to gently pry off the bulk of the old sealant. Then apply a silicone remover solvent (like Dow Corning OS-2 or 3M General Purpose Adhesive Cleaner) and let it sit for 15-30 minutes to soften the residue. Wipe clean with a lint-free cloth. For stubborn residue, use a 3M Scotch-Brite pad (fine grade) with the solvent. Do not use sandpaper on acrylic or polycarbonate — it will scratch the surface permanently.

Real photo from our production floor — every sign we ship is made here.
Products mentioned or relevant to this topic — factory-direct, custom built.
From $24/letter · MOQ 1 piece · Flexible lead time · CE & UL certified · ships to 20+ countries
Custom sizes, colors, and finishes. Get a factory price in 24 hours.
Get a Free Quote Copy EmailWhatsApp +86 13865703472 · business@aochuangsign.cn
See pricing, specs, and get a free quote for the sign type you need. Built in our factory, shipped worldwide.